
Restoring a website should make things safer-not fragile. When you move a site to a new host, rebuild a theme, or “put it back” after an outage, the easy part is getting pages to load. The hard part is protecting what matters most: data, URLs, forms, and the signals search engines and users rely on.
“The method is objective, not the journalist.”
Tom Rosenstiel
When you search for website restoration best practices, you usually want answers to questions like: What should I preserve (content, slugs, metadata, files)? How do I test without declaring victory too early? And what breaks most often after launch-forms, tracking, permissions, or performance?
Research into site migration and change management consistently points to a single theme: changes to URLs, indexing, assets, and integrations can cause ranking volatility and functional failures if you don’t plan for them. For example, Google’s guidance on site changes emphasizes keeping canonical and indexing signals consistent through transitions. Meanwhile, platform docs on backups and restore testing underline a practical rule: backups are only useful if you can restore them successfully in the environment that mirrors production.
In this guide, I’ll walk through a protection-first checklist for restoring a website without losing data or breaking critical user journeys. You’ll learn what to inventory, how to test before going live, how to communicate risk clearly, and what to monitor after launch.
Understanding data and content preservation
Before you touch files or databases, define what “data” means for your site. Then preserve it with a rollback path that’s faster than troubleshooting under pressure.
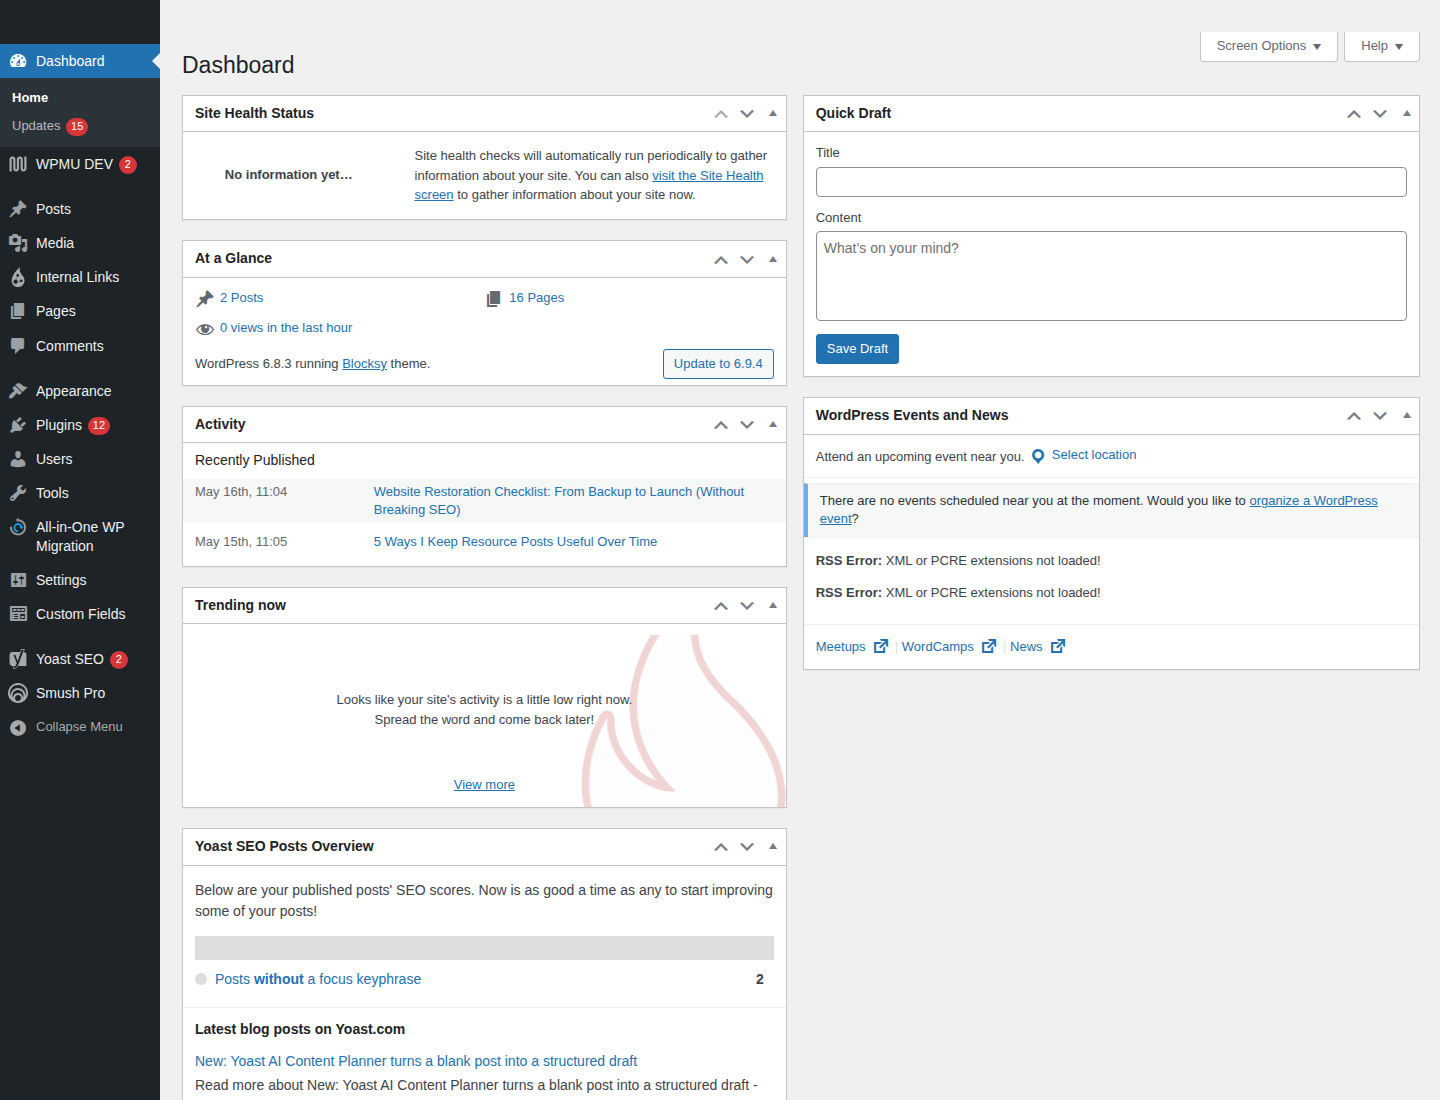
Start with an inventory (then freeze a baseline)
- Databases: export your database and note the exact schema/version.
- Uploads and media: preserve your
/uploadsdirectory (and any custom media folders). - Configuration: capture environment settings (WP config, caching rules, CDN settings, email routing).
- Integrations: list contact forms, CRM/email routing, webhooks, and any auth providers.
- Tracking & analytics: document tag manager IDs, GA4 properties, Search Console verification, and conversion events.
Failure mode to prevent: restoring “content” while unintentionally losing relationships-like attachment metadata, custom fields, or form submission storage.
Map content to URLs (and plan redirects before launch)
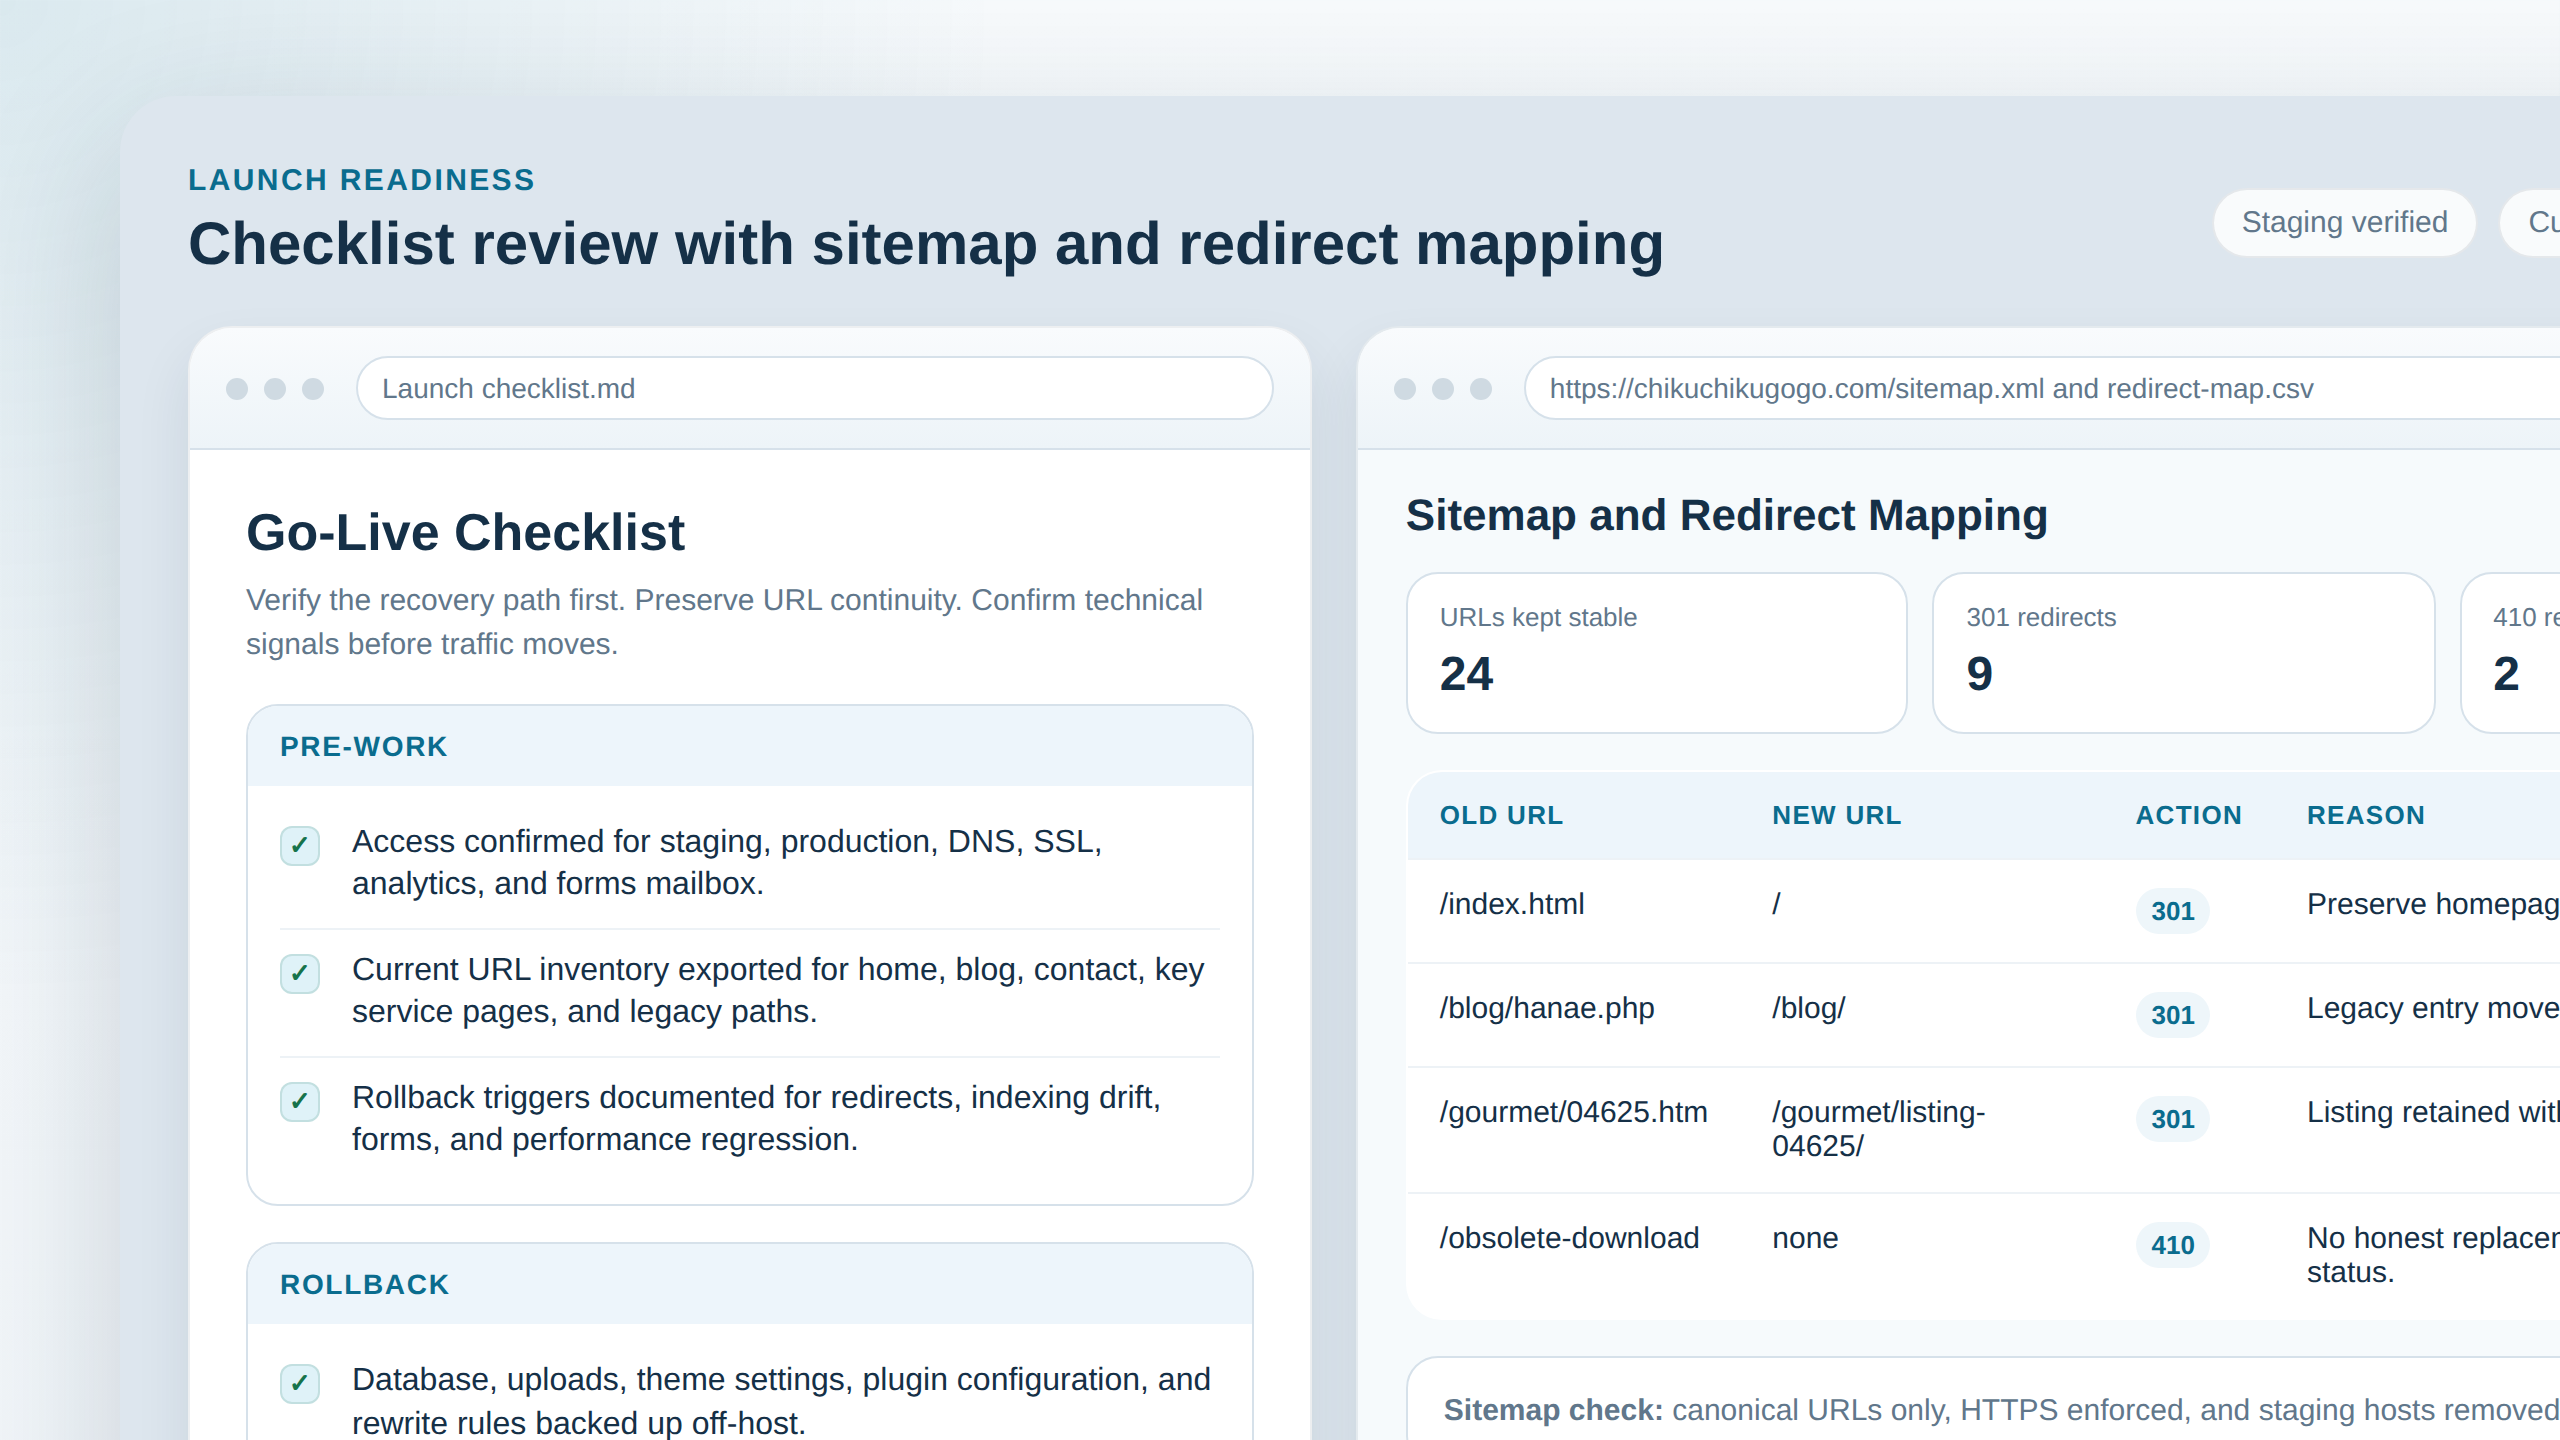
Most restoration damage happens when URL identity changes. Create a mapping between old URLs and new URLs (or decide they should remain the same). If pages are intentionally removed, decide how to handle traffic and ranking-usually via redirects that preserve intent.
| Old URL | New URL | Status | Notes |
|---|---|---|---|
| /old-service | /services/new-service | 301 | Keep closest match |
| /blog/old-post | /blog/new-post | 301 | Verify canonical and internal links |
| /page-removed | / | Redirect | Only if no close alternative |
Reference: Google’s documentation on site migration and SEO best practices provides concrete guidance on maintaining consistent signals during URL and content changes. https://developers.google.com/search/docs/crawling-indexing/migrate-site and https://support.google.com/webmasters/answer/6060779 (add your own context, but follow the principle: keep indexing and canonical consistency through transitions).
Testing before going live
Testing isn’t a checklist you complete once-it’s a gate you pass. Treat the restoration like a release: verify functionality, verify data integrity, then verify user journeys.
Verify restores in a staging environment (not just screenshots)
- Restore test: confirm the database export imports cleanly and pages render with the expected templates.
- Media test: validate images and downloads load from the correct paths.
- Permissions test: confirm roles/capabilities for admins and editors still work.
- Form test: submit a test entry and confirm email delivery and storage behavior.
- Search & navigation test: confirm menus, internal links, and any site search work.
Rule: don’t rely on “looks right” comparisons. Verify outcomes: submissions received, pages indexed appropriately, and critical links returning the correct HTTP status codes.
Do targeted data integrity checks
Pick checks that would actually change a reader’s decision to trust the site:
- Forms: confirm required fields still validate and spam protection isn’t blocking legitimate submissions.
- Attachments: verify media library items show the correct metadata (captions, alt text, file URLs).
- Custom content: check any plugin-managed tables or custom fields for missing values.
- Logs and backups: confirm restored state is consistent with the backup you plan to rollback to.
Communicating with stakeholders
Even when the technical work is correct, restoration can fail socially: expectations aren’t aligned, someone assumes the site is “done,” and a critical integration breaks quietly. Communication is part of data integrity.
Send a “risk summary” before launch
Use a short message that answers four questions:
- What’s changing: hosts, themes, database, redirects, permissions, or analytics.
- What’s protected: backup/rollback, critical forms, top pages/URLs, and media.
- What’s being tested: user journeys and acceptance checks.
- What could break: common failure modes (tracking not firing, redirects misrouting, form emails failing).
Small discipline, big payoff: define an owner for “launch decision” and a time window for stabilization so no one announces success early.
Monitoring post-restoration performance
After launch, you’re not done-you’re observing. The first days after a restoration are where problems hide: slow pages, incorrect caching behavior, tracking gaps, or redirects that only fail for certain browsers/crawlers.
Use monitoring signals that match real risks
- Uptime and errors: server error rates, 4xx/5xx spikes, and latency regressions.
- Redirect health: confirm status codes (especially 301/302) for mapped URLs.
- Indexing signals: check Search Console for crawling/indexing anomalies.
- Conversion paths: verify key actions (contact form submit, newsletter signup, checkout equivalents if applicable).
- Performance: watch page weight, image delivery, caching headers, and any CDN rules.
Google Search Console documentation explains what signals to watch when monitoring crawl and indexing changes: https://support.google.com/webmasters/topic/9128579 (use it to interpret what you see, not to replace testing).

Continuous improvement
Once the dust settles, convert the experience into a stronger baseline for the next restoration.
Write down your recovery path
- What you backed up
- How you restored it
- How you validated data integrity
- What you would do differently next time
Improve your next iteration
After every restoration, update your runbook. Small changes compound: better inventories, clearer redirect maps, faster staging parity, and tighter acceptance criteria. This is how you reduce risk without guessing.
A restoration best-practices checklist
| Phase | What to verify | Pass criteria |
|---|---|---|
| Pre-work | Backups + rollback plan | Restore works in staging |
| Inventory | Content + URL map | Redirects planned and reviewed |
| Safety | Forms + integrations | Test submissions succeed |
| SEO signals | Canonical/indexing consistency | No indexing regressions |
| Go-live | HTTP status + key pages | Spot checks show correct behavior |
| Post-launch | Errors, redirects, indexing | Monitoring window stays stable |
| Aftermath | Runbook update | Recovery path documented |
Conclusion
Website restoration best practices all point to the same goal: protect data and minimize surprises. Inventory before you change, preserve URL identity with redirect planning, test restores with real user journeys, communicate risk clearly, and monitor what matters immediately after launch. Then update your runbook so the next transition is calmer.
Next step: verify your current backup and redirect mapping process, then document one recovery path that you can follow in under an hour.
Resources (recommended reading):